How to Create Realistic AI Clips
Most AI-generated clips look unnatural: identical faces, uniform lighting, and a lack of atmosphere. To create videos that feel like real footage, the process can be broken down into five stages: pre-production, reference research, image generation, video generation, editing, and sound design.
Four tools are used for this work: ChatGPT, Midjourney, Nanobanana, and Kling.
During the preparation stage, you first study the work of other creators and gather references, for example on Pinterest. It’s important to understand in advance exactly what you plan to create and in what visual style. If the task is to create a sketch in the style of early 2000s hip-hop music videos, the work begins not with prompts, but specifically with references.
References allow you to set the direction of the generation. Without them, the result is controlled by the neural network, not the author. In this case, you can only hope that the model will independently guess the desired style and mood.
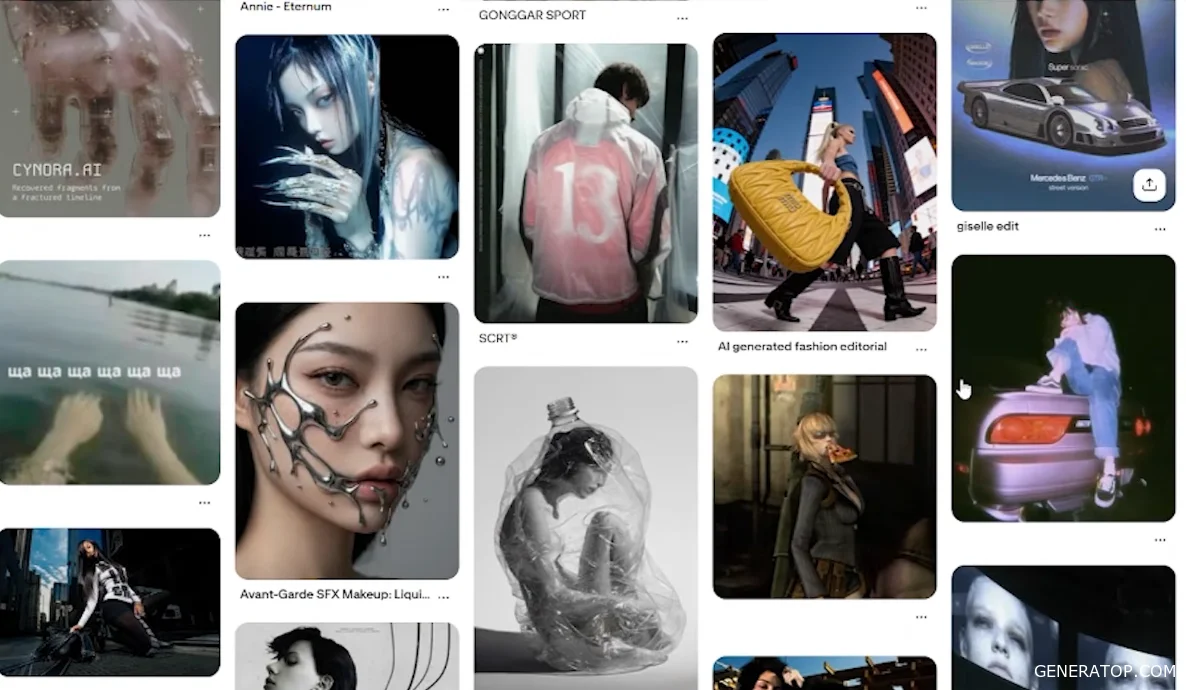
To develop ideas, you can use ChatGPT and ask it to prepare several prompt options. However, the prompt itself solves almost nothing. The moodboard determines the basis of the result.
In Midjourney, you need to open the Moodboard tab and upload all the prepared references there. It’s important that they be in the same style. After that, a moodboard code is generated, which is used for further generation.
In fact, what happens isn’t generating a scene from scratch, but blending the scene description from the prompt with the visual style from the moodboard. Midjourney can transfer the characters’ appearances from the uploaded references, so the images often require further refinement.
After creating the first frames, you can return to ChatGPT and request additional scene variations. The following settings are used during generation:
AR — the aspect ratio of the frame. In this case, the 16:9 format is used.
Raw — a mode for generating a more raw image without additional artistic effects.
Moodboard — the connected set of references.
If you’re not satisfied with the result, you can change the prompts, combine parts of them, remove individual elements, or add new ones. The moodboard continues to play a major role here, as it combines the chosen style with the described scene.
Midjourney is prone to errors: it may distort geometry, violate the scene’s logic, or generate extra fingers on hands. However, it is precisely this tool that allows you to achieve a visual style that most closely resembles a real-life photo shoot. For this reason, it is well-suited for creating base frames.
The resulting images may look rough, but they already convey the desired atmosphere. At this stage, it’s important not to look for the most beautiful shot in isolation from the rest. You need to select a sequence of shots that work together and create a cohesive, atmospheric story.
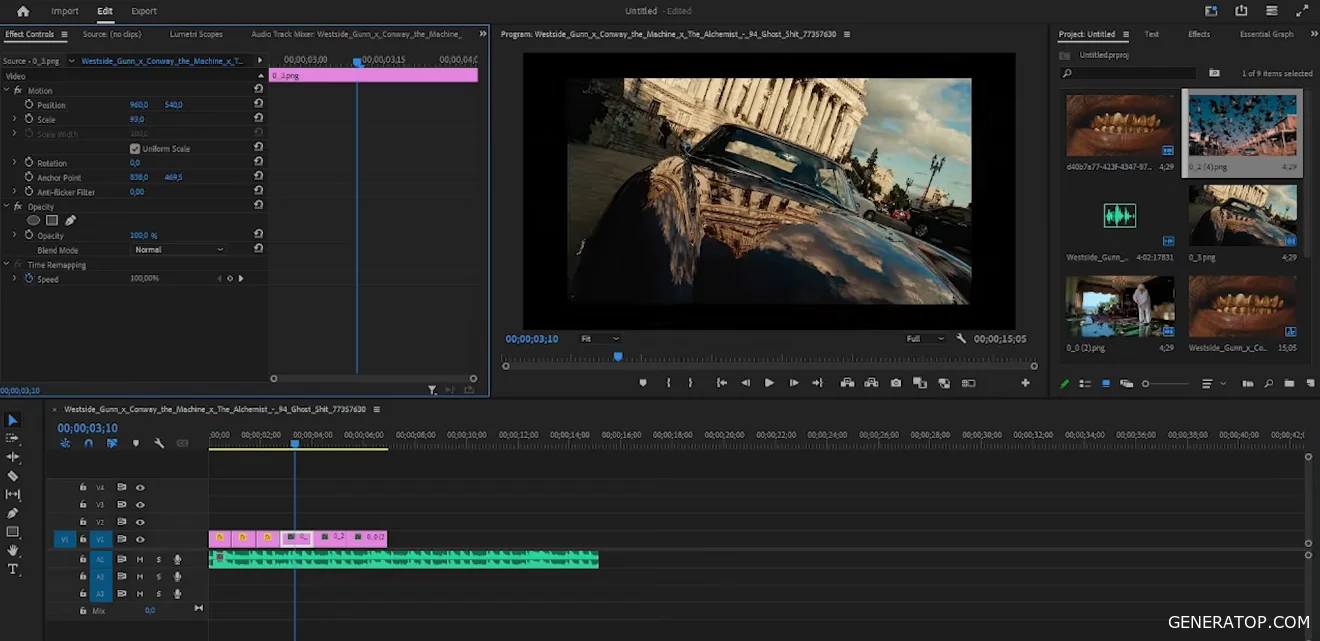
To evaluate the sequence, it’s helpful to open Premiere Pro right away, choose a music track, and place the images on the timeline. This helps you understand which scenes work best together.
After selecting the frames, the process of correcting errors and refining details begins. For example, you can change a character’s outfit to a white T-shirt, add a gold chain, and simultaneously improve the image quality.
For such tasks, the combination of GPT Image and Nanobanana is used. With their help, typical generation errors are corrected: extra hands, incorrect reflections, unsightly faces, and errors in objects or the environment. For some images, it’s enough to simply increase the resolution and improve the quality.
Requests can remain as simple as possible and be formulated in Russian.
Once all frames are prepared, you can move on to animating them.
Kling 2.5 is used to generate the video. Version 3.0 is more stable, but on a limited budget, version 2.5 also delivers good results.
To create the animation, the image is uploaded to ChatGPT, after which a description of the movement is generated. Special attention must be paid to three things:
- the position of objects;
- camera movement;
- character movement.
If the movement isn’t explicitly described, the neural network invents it on its own. In most cases, this leads to an unsatisfactory result.
For example, in a scene with a car, it’s important to specify that the camera is mounted on the hood and only the car itself is moving. In scenes with people, natural human movements are specified. For birds, characteristic bird movements are described.
Adding such details significantly affects the quality of the result. The same scenes with and without a detailed description of movement can look completely different.
Different models also interpret movement differently. Sometimes it is more effective to switch tools than to continue wasting resources trying to improve the result within a single model.
In some scenes, Kling may not be able to handle the task. In such cases, you can use Midjourney, which is sometimes better at bringing specific ideas to life.
When generating video, two iterations are set. The Low and High modes are also tested. In Low mode, movements are smoother, while in High mode they can become more abrupt and jerky.
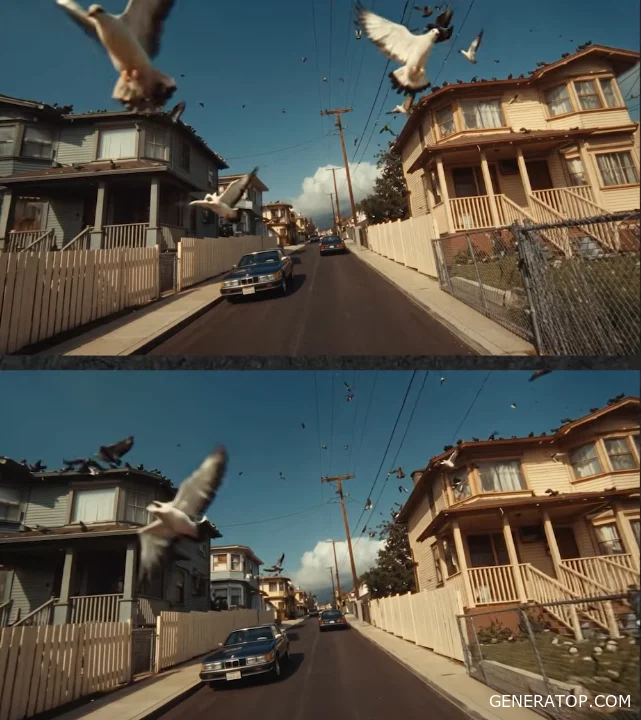
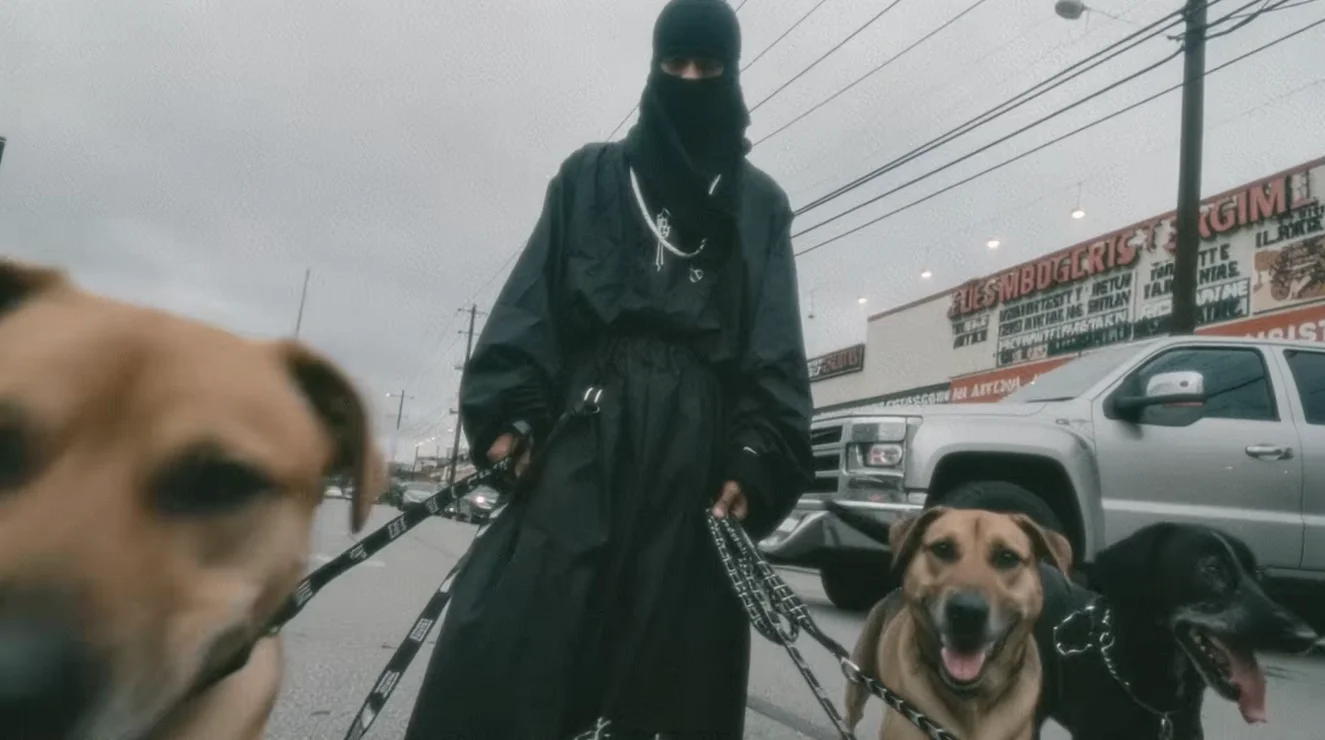
We’re not talking about professional cinematography here, but rather footage shot by someone holding an iPhone in one hand—someone who’s walking, moving around, missing the frame, and periodically zooming in with their fingers. It’s this jerkiness and natural shaking that create that signature handheld effect
🔗Keywords
untrained person - literally “someone who doesn't know how to film,” breaks the illusion of a professional cameraman
careless / sloppy / imperfect framing - “imperfect framing,” adds carelessness and “live” framing errors
uneven walking rhythm / footstep bounces - creates shaking specifically from footsteps, not decorative shake
random tiny corrections / accidental micro-tilts - the camera constantly makes slight corrections, just like a real hand
autofocus breathing / exposure pumping - mimics a phone’s behavior: focus and exposure fluctuate slightly
not stabilized / no gimbal / not smooth - without stabilization or a tripod
Simulating zoom via the iPhone screen. Yes, in Kling 3.0 you can simulate zooming as if you were pinching to zoom on a phone screen. Here’s an example of a zoom description in a prompt; you can insert it at the end of any request:
digital pinch zoom on a phone screen, uneven stepped zoom-in, slightly jerky zoom increments, image
compression increases during zoom, framing drifts off-center while zooming, amateur iPhone camera
zoom
Universal template. First, describe what is happening in the scene—object movement, behavior, etc.—and then insert this snippet; it describes only the camera. If you don’t need the zoom, simply remove the second paragraph and leave only the shaking:
Amateur mockumentary-style footage filmed by an untrained person holding an iPhone in one hand while
walking slowly. The camera is careless and unstable, with uneven handheld shake, small vertical
bounces from footsteps, random tiny left-right corrections, accidental micro-tilts, imperfect
framing, and occasional drifting focus. The shot feels spontaneous, messy, and unpolished, like
someone recording in a hurry without trying to make it cinematic.
During the shot, the person performs a digital pinch-to-zoom on the phone screen: the zoom-in is
slightly jerky and stepped, not smooth, with small framing errors and increased image compression.
The subject stays mostly in frame but sometimes drifts slightly off-center. Natural autofocus
breathing, slight exposure pumping, subtle rolling shutter, realistic phone-camera motion.
Not cinematic, not stabilized, not professional, no gimbal, no smooth dolly, no perfect framing, no
polished camera movement.
Even if the result isn’t perfect, it can still be used. For example, if a character makes an unnecessary hand gesture only at the end of a scene, that segment can simply be cut out during editing.
During the editing phase, a collection of individual frames is transformed into a complete video clip. Sometimes editing has a greater impact on the final quality than the generation process itself, as it allows you to get the most out of even less-than-ideal source material.
All video clips are placed on the timeline and assembled into a single sequence. If necessary, the playback speed is adjusted, unnecessary moments are removed, and the duration of individual scenes is shortened.
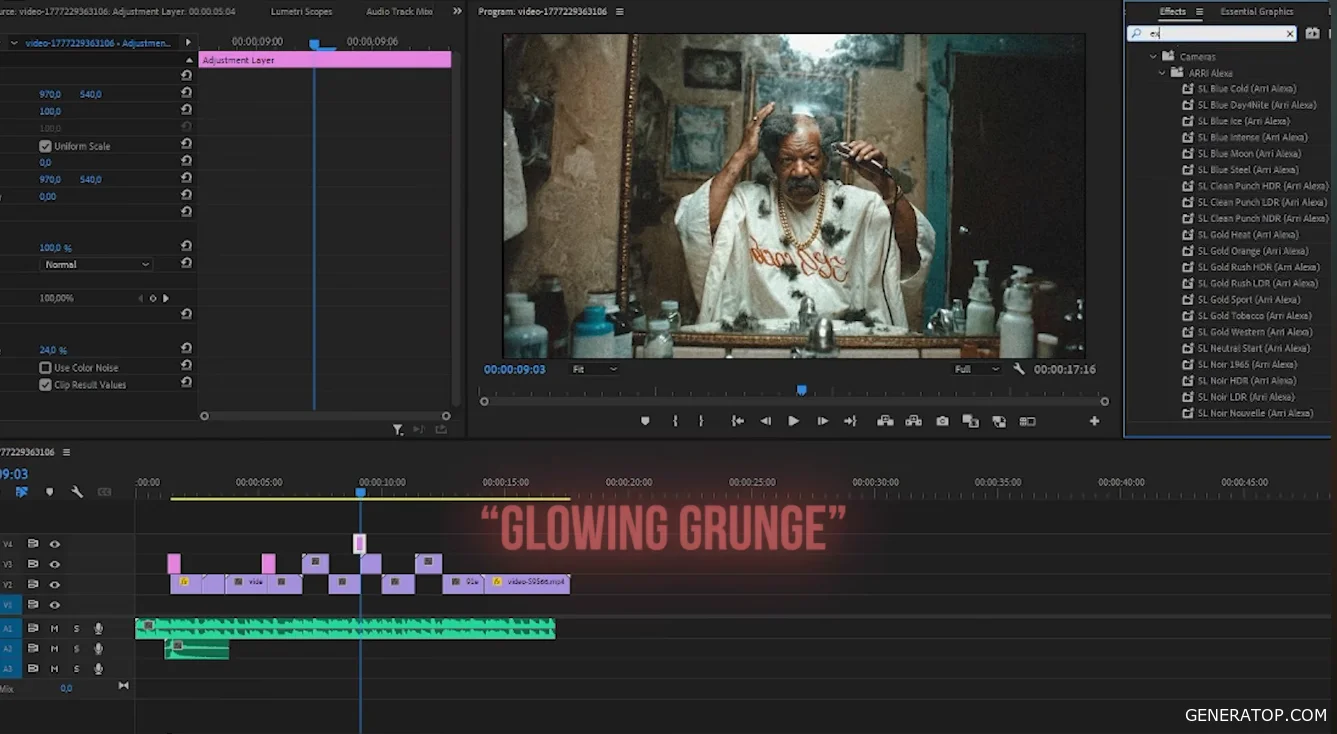
After the basic assembly, color correction is performed using LUTs, a music track is added, and transitions between scenes are created.
In one of the transitions, the exposure is animated over five frames, creating a flash effect. In another, the Glowing Grunge effect is used.
Sound effects are added to enhance the viewing experience. An introductory audio transition is also created, which smoothly leads the viewer to the start of the music track.
AI do not create clips on their own. They reflect the creator’s skills, vision, and decisions. The main goal is not to obtain any result from the model, but to achieve precisely the result required for a specific idea.