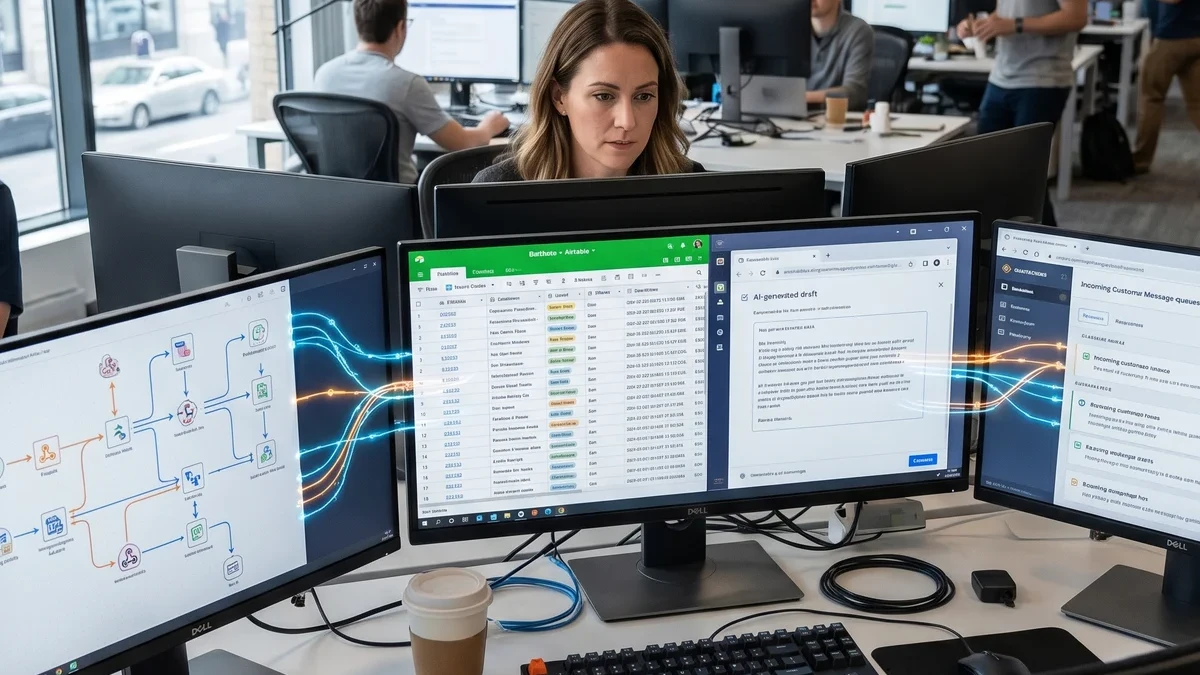
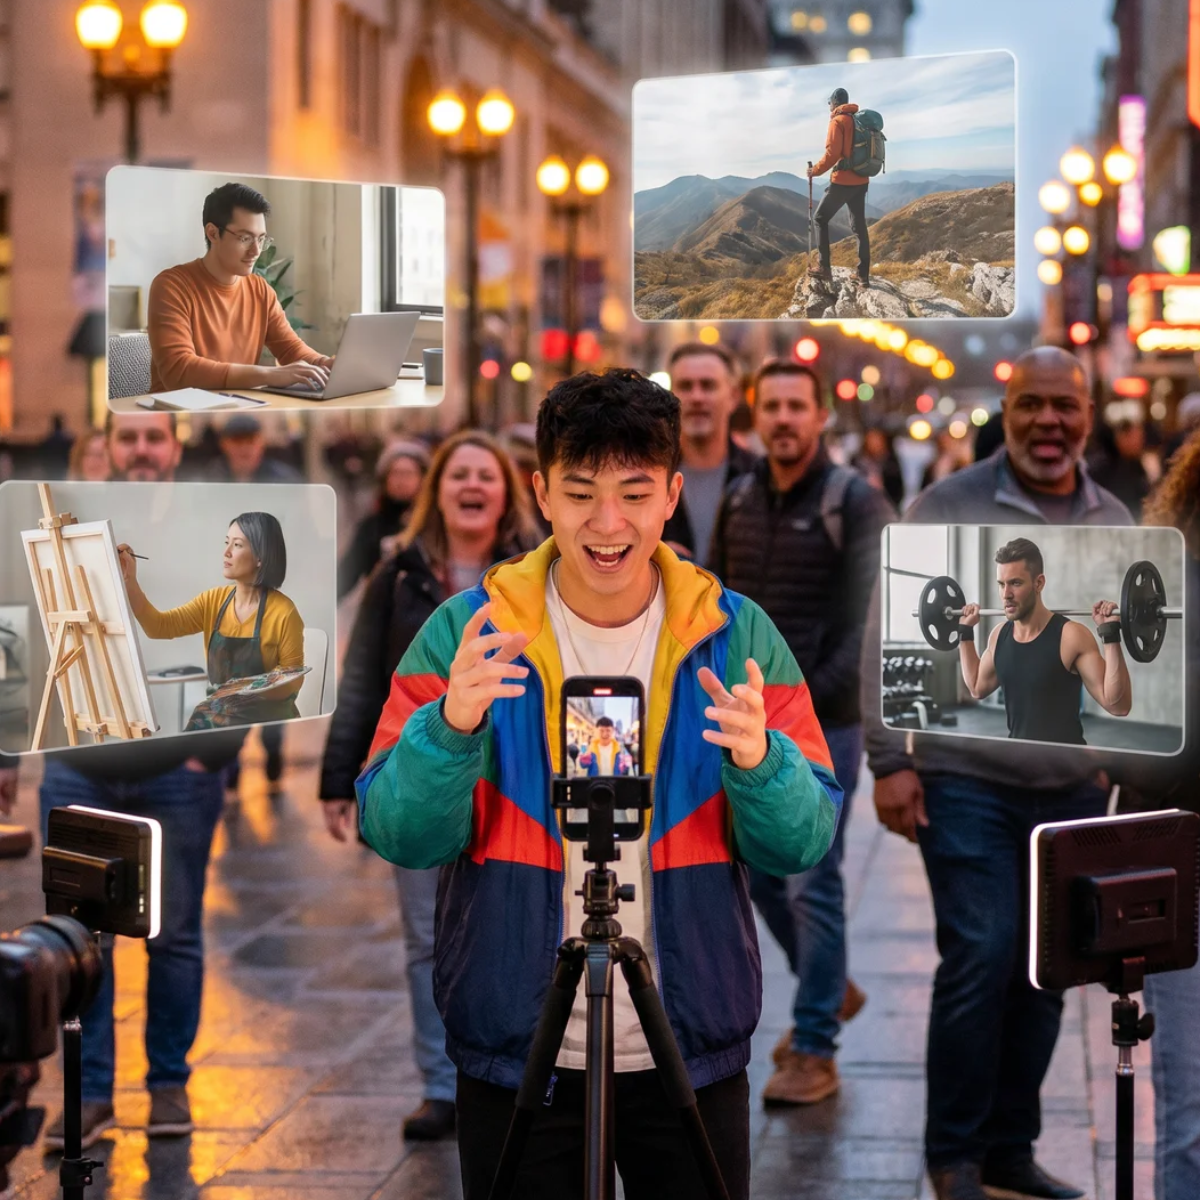
How to Create AI Animations: Characters, Storyboarding, and Workflows
The first thing you need to do when creating your own AI animation is to make a plan. Many people make a mistake right at this stage. They either ask the neural network to come up with the entire story from scratch, or they start generating scenes right away.
The problem with this approach is the lack of clear guidelines. If you generate a scene several times featuring a person running away from an explosion, you can get completely different results. Even when using the same prompt, the style, character, and overall visual presentation will vary. The reason is that the generator wasn’t given a plan; there are no references, no specific character, and no understanding of the story.
To solve this problem, it is recommended to start with the character. Even if you already have a story idea, you should first create a character sheet for the main character.
GPT Image 2 is used to create the character. Experience shows that this model handles creating character sheets better than Nano Banana.
The prompt can be as simple as possible:
“Character design reference sheet” with a detailed description of the character. For example: a clumsy and cheerful young man named Bob, dressed in bright, slightly mismatched casual clothes, with large glasses. It’s important to ask to see the character from the front, side, and back against a neutral background.
After generation, select the best option. If you need to change anything about the character’s appearance, it’s best to do so right away. Later, the character can be adapted to various artistic styles. For example, the current version might resemble a 3D Pixar style, but it can later be transformed into virtually any visual style.

After creating the character, you can move on to generating scenes. The first workflow is based on using a starting and ending frame.
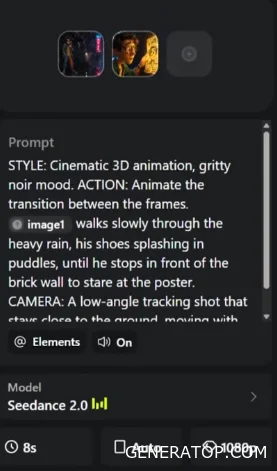
First, an image of the opening scene is created. The character sheet is used as a reference for this. The prompt describes the surroundings and the action in detail. For example, Bob is standing under a rusty fire escape in a dark alley in heavy rain, surrounded by reflections of neon signs in puddles, and the character himself looks suspicious and wary.
When creating a scene, it’s important to think like a director. You need to understand in advance exactly what should happen in the frame and what the result should look like.
After obtaining the starting frame, the final frame is created. For example, Bob notices a glowing poster with his own image on it.
Then both images are loaded into the video generator as the starting and final frames.
The prompt is structured as follows:
- style
- action
- camera work.
The style section defines the visual presentation of the scene.
The action section describes the transition between frames in detail. For example, the character walks slowly in the rain, splashing water with their boots, then stops near a wall and looks at the poster.
The camera section specifies the shooting method. For example, the camera may move low to the ground, following the character’s footsteps.
To generate more content, it is recommended to create clips lasting about 15 seconds. For maximum quality, it is preferable to use 1080p, although this mode is significantly more expensive. In most cases, 720p also produces good results.
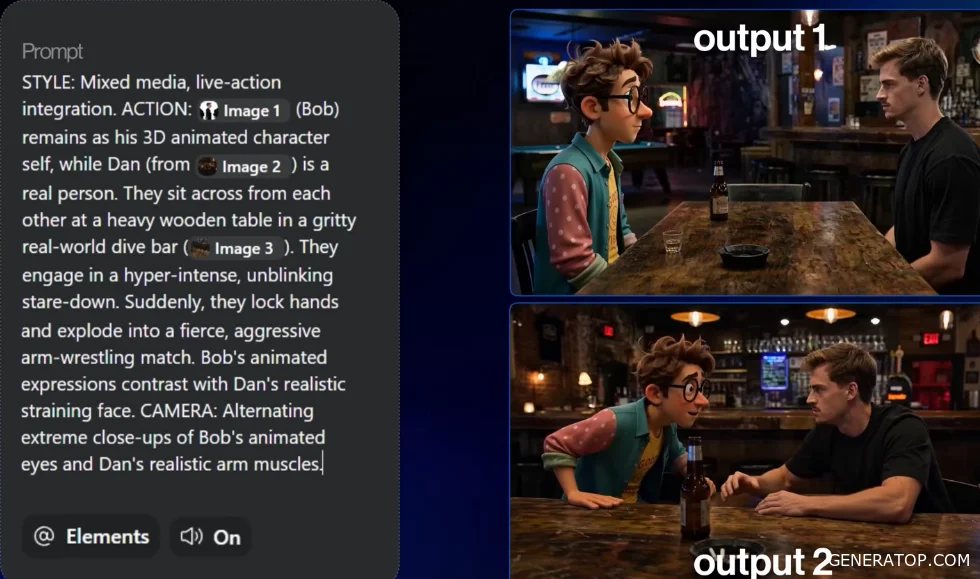
The second workflow is based on using a set of references.
Four images are used as examples:
- a character sheet for Bob
- a character sheet for the second character
- an image of a bar as the environment
- an additional image of the bar to convey lighting.
All images are added as references.
The prompt is again structured according to the “style—action—camera” scheme.
The example described uses a blend of a real person and an animated character. Bob remains a 3D character, while the second character is represented as a real person. They sit across from each other, look into each other’s eyes, and begin an arm-wrestling match.
For the camera, alternating close-ups of the character’s eyes and the participants’ hands are specified.
When using this approach, it’s helpful to generate several variations of a single scene, as different results can vary significantly from one another.
A key feature of this method is that it doesn’t require creating a large number of intermediate images. The model understands the context well and independently connects the provided elements.
If you need to continue a scene that has already been created, simply upload the finished video as a reference and ask the generator to continue the action from where it left off. For example, to finish the arm-wrestling match and show the winner. Thanks to its understanding of the context, the model preserves the characters and the scene’s progression.
If you encounter issues with character consistency, it is recommended to add more references of the same character.
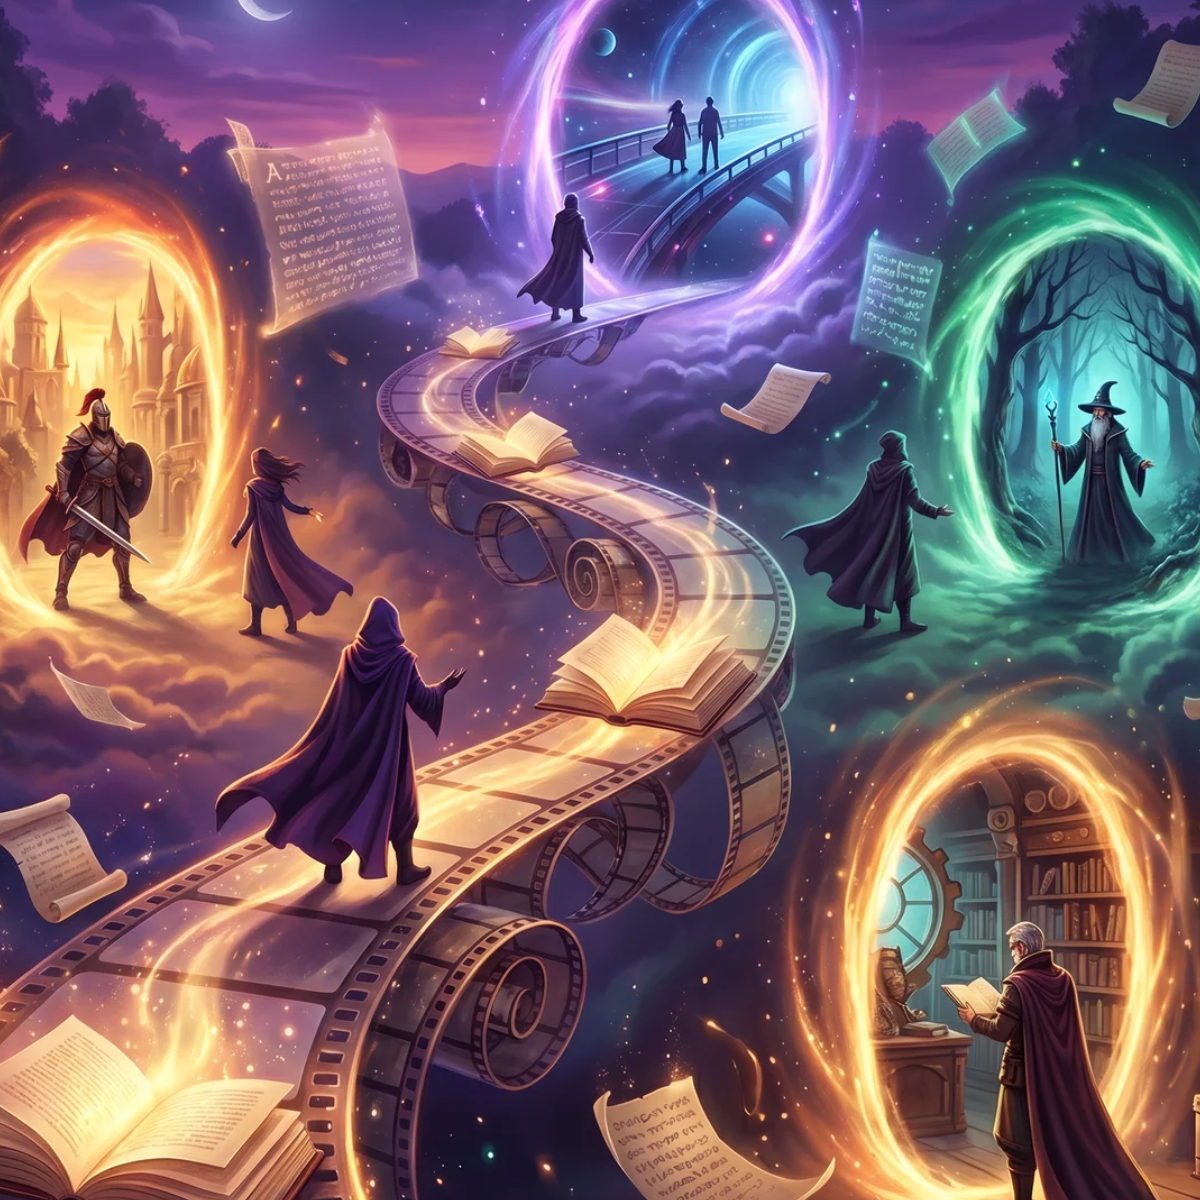
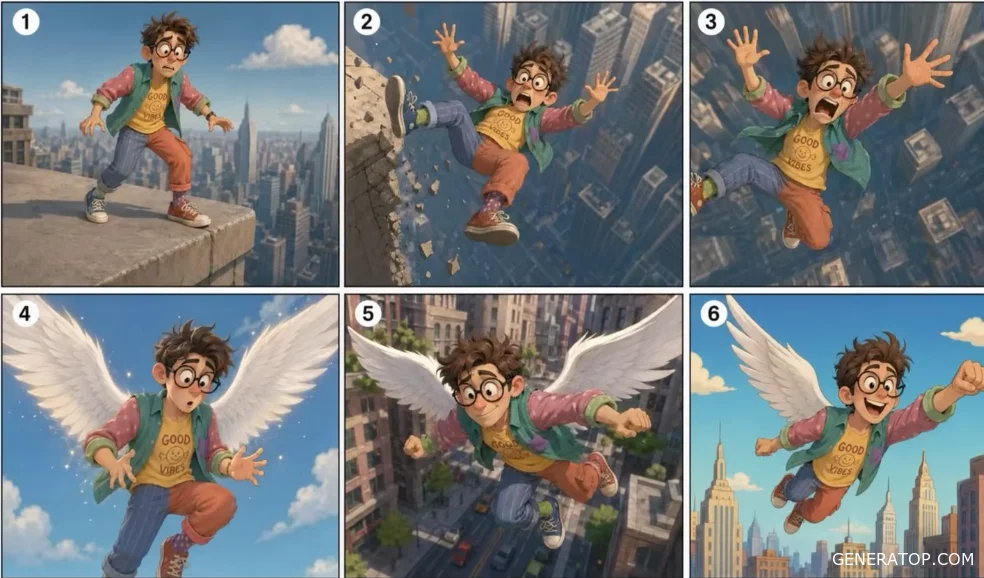
The third workflow is based on storyboarding.
First, the character sheet is loaded into GPT Image 2 again. Then, a six-frame storyboard of the future scene is created.
For each frame, the action is described separately. For example:
- Bob is standing on the edge of a skyscraper.
- Bob slips.
- Bob falls down.
- Huge white wings appear on him.
- He stabilizes his flight before hitting the ground.
- He flies over the city.
To ensure the character remains consistent across all frames, it is recommended to specify a link to the source image for each item separately.
Once the storyboard is created, it can be sent to the video generator as a reference. There is no need to create complex multi-frame instructions. It is sufficient to briefly describe the sequence of events and request that the character remain fully consistent across scenes.
This approach allows you to preview the story, make changes, and save money on video generation.
The following framework is used to compose prompts:
- Style + Action + Camera
- Style defines the visual presentation of the scene.
- Action describes what is happening to the character.
- Camera defines the shooting style.
For example, you can specify a 3D animation style with warm, sunny lighting and indicate that the entire scene should consist of a single continuous shot without any cuts. If this is the exact result you want, you must explicitly specify it in the prompt.
In the action block, you can describe the character walking through a flower garden, stopping near a rare flower, and continuing beyond the frame.
For the camera, you can set a slow pan from left to right, synchronized with the character’s movement.
More complex options include tracking shots, where the camera moves along with the character, or a first-person view with natural head movements and camera tilts while walking.
In addition to the generation technique, artistic style plays an important role. A character’s base sheet can be transformed into various styles using a simple prompt to change the visual design.
For example, for the Arcane style, you can use a description featuring oil textures, high-contrast lighting, and pronounced brushstrokes, while retaining the character’s recognizable features.
Similarly, you can create characters in the style of comics, claymation, and many other genres. This allows you to move away from the typical 3D cartoon aesthetic and choose a unique visual language for your project.
When working, you should take the model’s limitations into account. Difficulties may arise when animating text, complex hand gestures, and non-standard movements. Additionally, generating high-quality video remains quite resource-intensive.
It is recommended to plan the scene in advance before starting the generation process. If you have doubts about the result, it is better to first test the idea at 480p or 720p resolution. However, it is not always possible to upscaling high-quality videos created at low resolution without losing detail.